Fitting a Ugreen Find My tracker (AirTag-ish) into an expansion card
This is a crosspost of my Framework forum post.
I recently purchased some Ugreen Find My-compatible trackers (Amazon link) because I needed more trackers for my iphone and didn’t want to shell out extra cash for overpriced AirTags.
I chose the Ugreen ones because a few Amazon review photos showed that the PCB is easily accessible for battery replacement, which got me thinking: I want to build a custom tracker expansion card.
A couple of things to note:
- I’m fortunate enough that I don’t have to worry too much about theft, so concealment wasn’t a priority. My main goal is just getting a reminder if I accidentally leave my laptop behind.
- Compared to standard AirTags, the Ugreen tracker (like most third-party Find My trackers on the market) doesn’t support Precision Finding. It only provides a general location in Apple Maps. It’s a bit disappointing, but it still serves its purpose for separation alerts.
- For about $6 more, you can get a version that supports Google’s Find Hub and features USB-C charging. It would be incredibly cool to take the circuit board out of one of those and pair it with a USB-C expansion card shell. I didn’t want to risk it since I wasn’t sure how easy it would be to disassemble, but I did find this teardown post. The PCB looks pretty much identical to the one I have, aside from the USB-C port and internal battery. Perhaps someone else in the community wants to try fitting one into an expansion card!
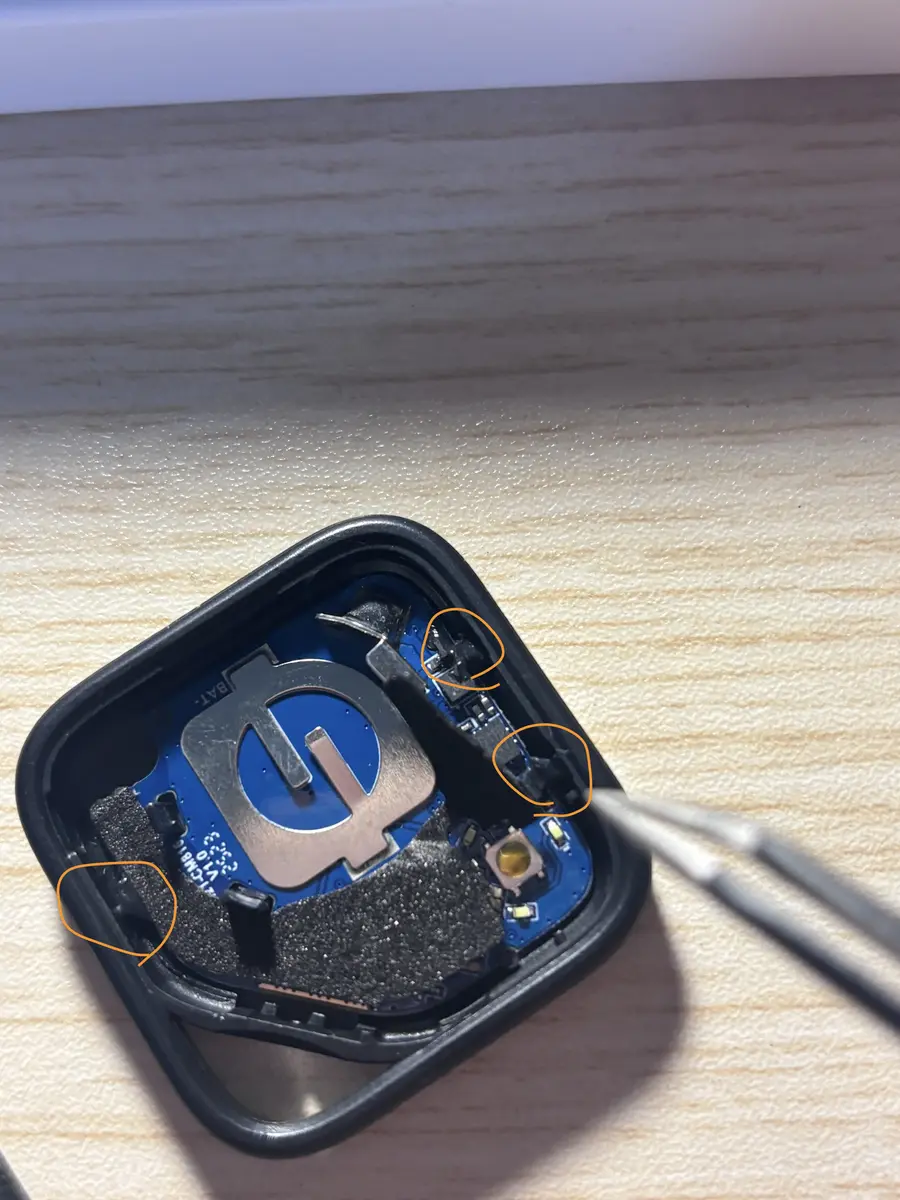
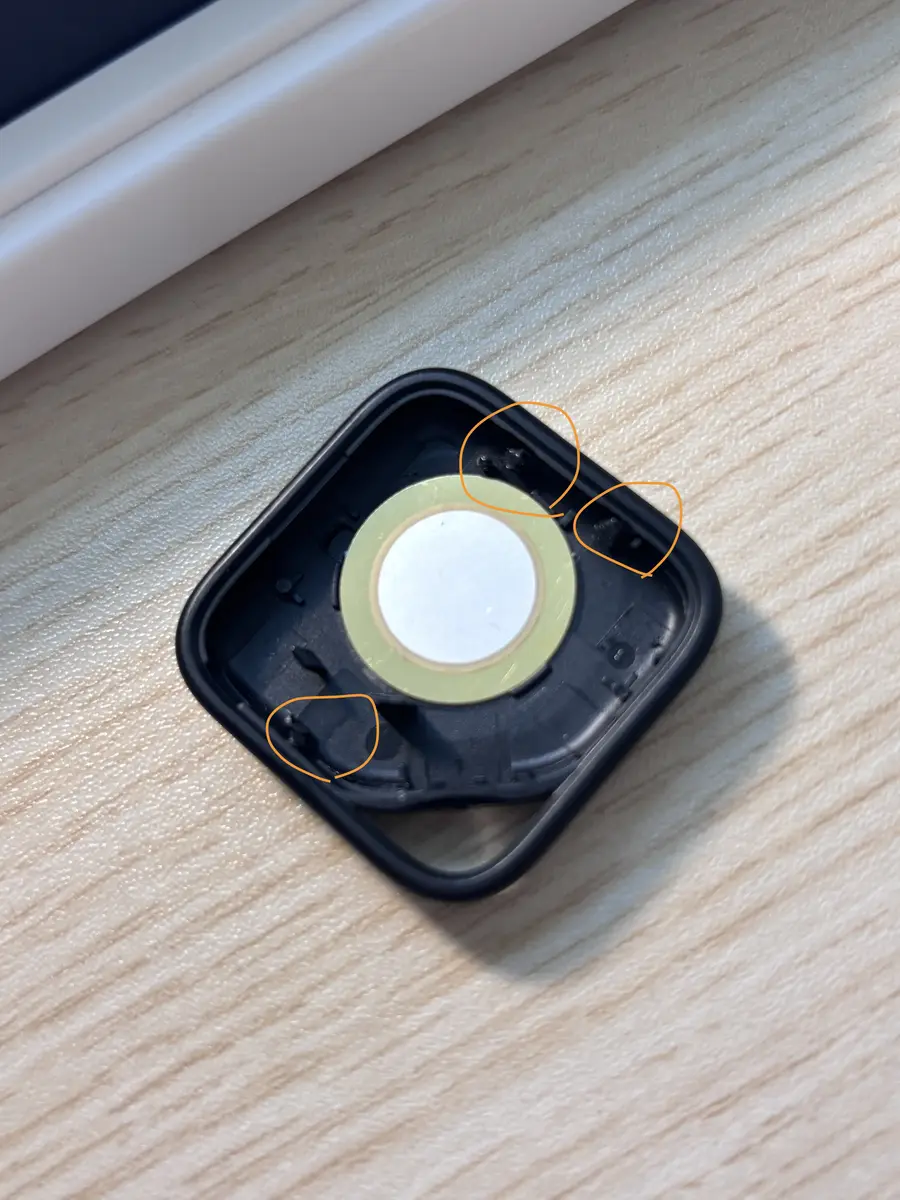
Once you pop the cover off using the included SIM card ejector tool, the PCB is visible right away. It is secured by three plastic notches that feel almost like hot glue residue, so I just used metal tweezers to chip them away.
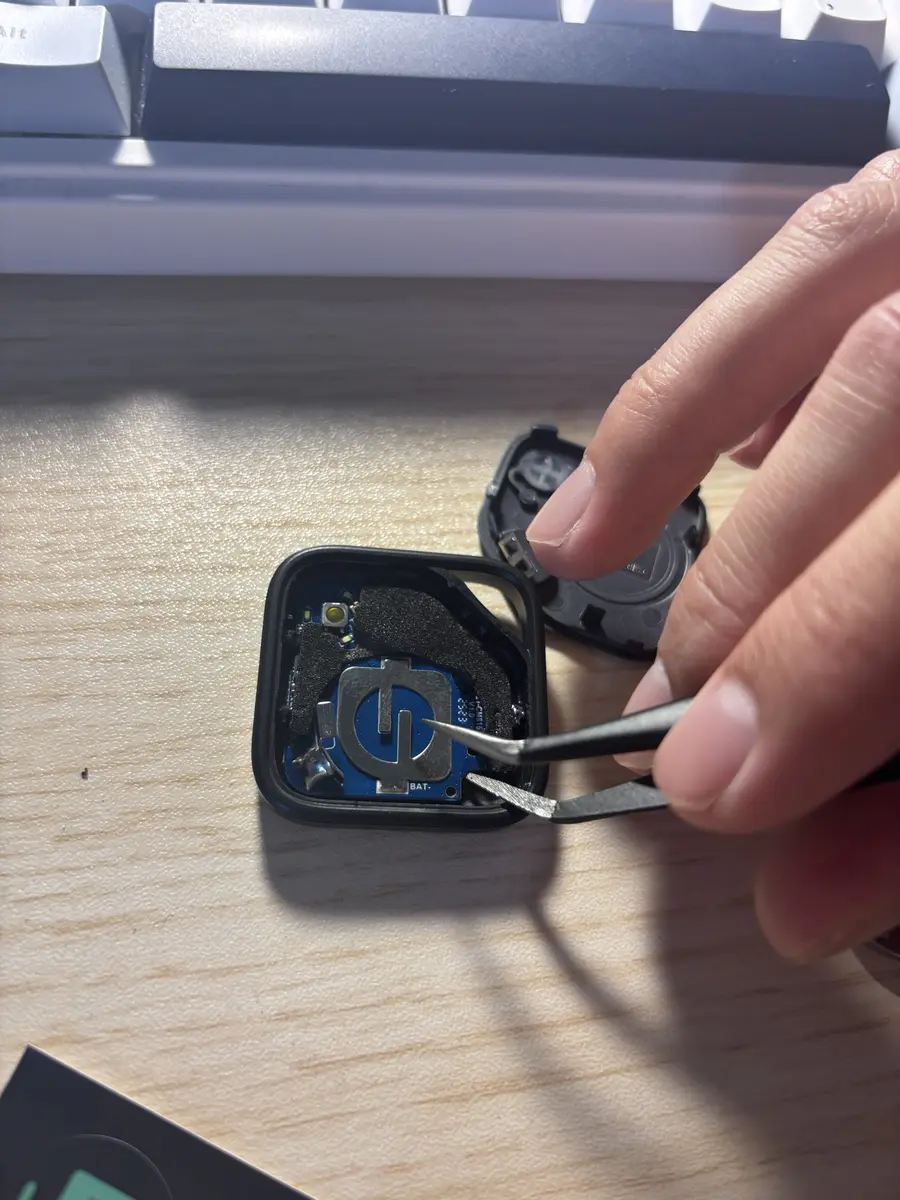
Then I carefully lifted the PCB out. This is where I lost the speaker functionality, because as you can see from the previous photo, the speaker’s metal plate is glued directly to the casing. I’m not entirely sure if there is a clean way to preserve the speaker.
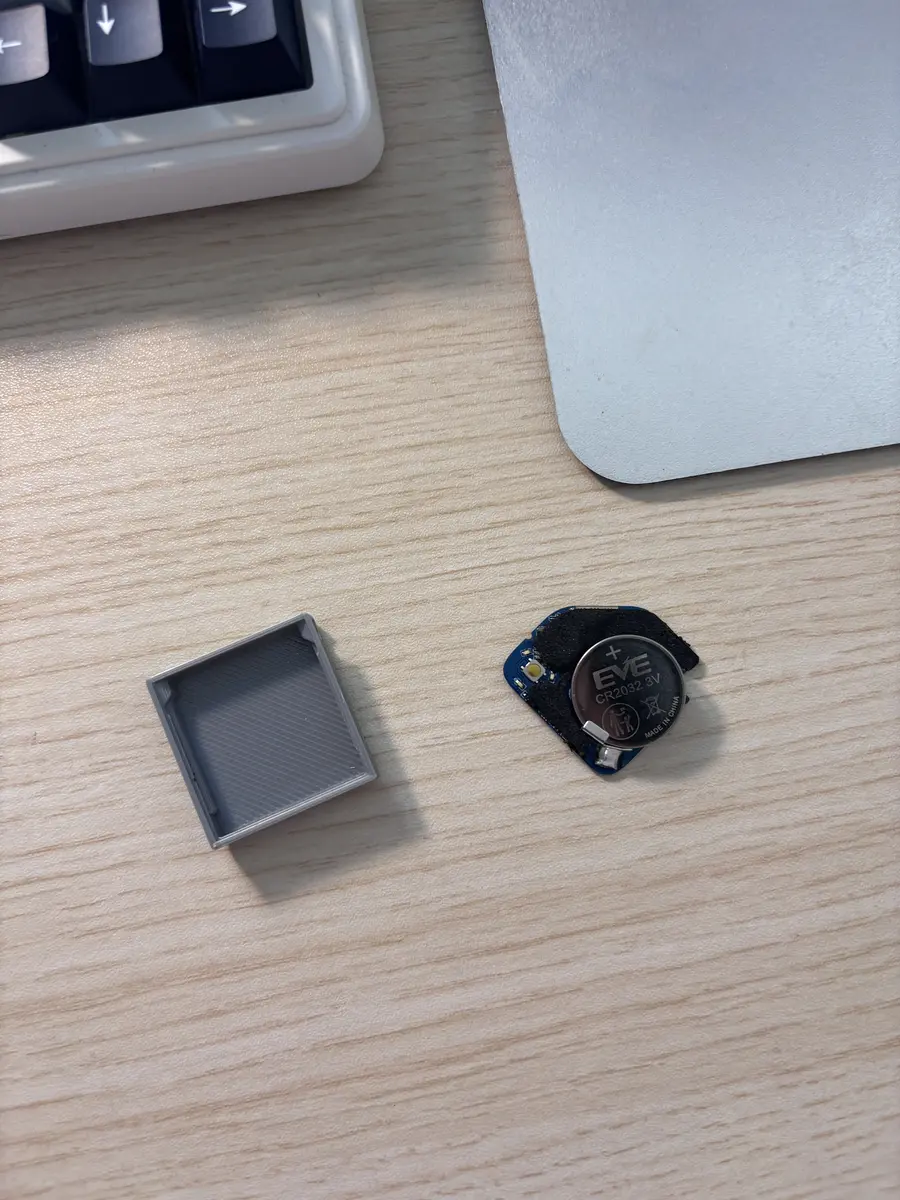
I printed all the model files from this empty expansion card design on Printables, and I ended up using the “Framework Module Base”.
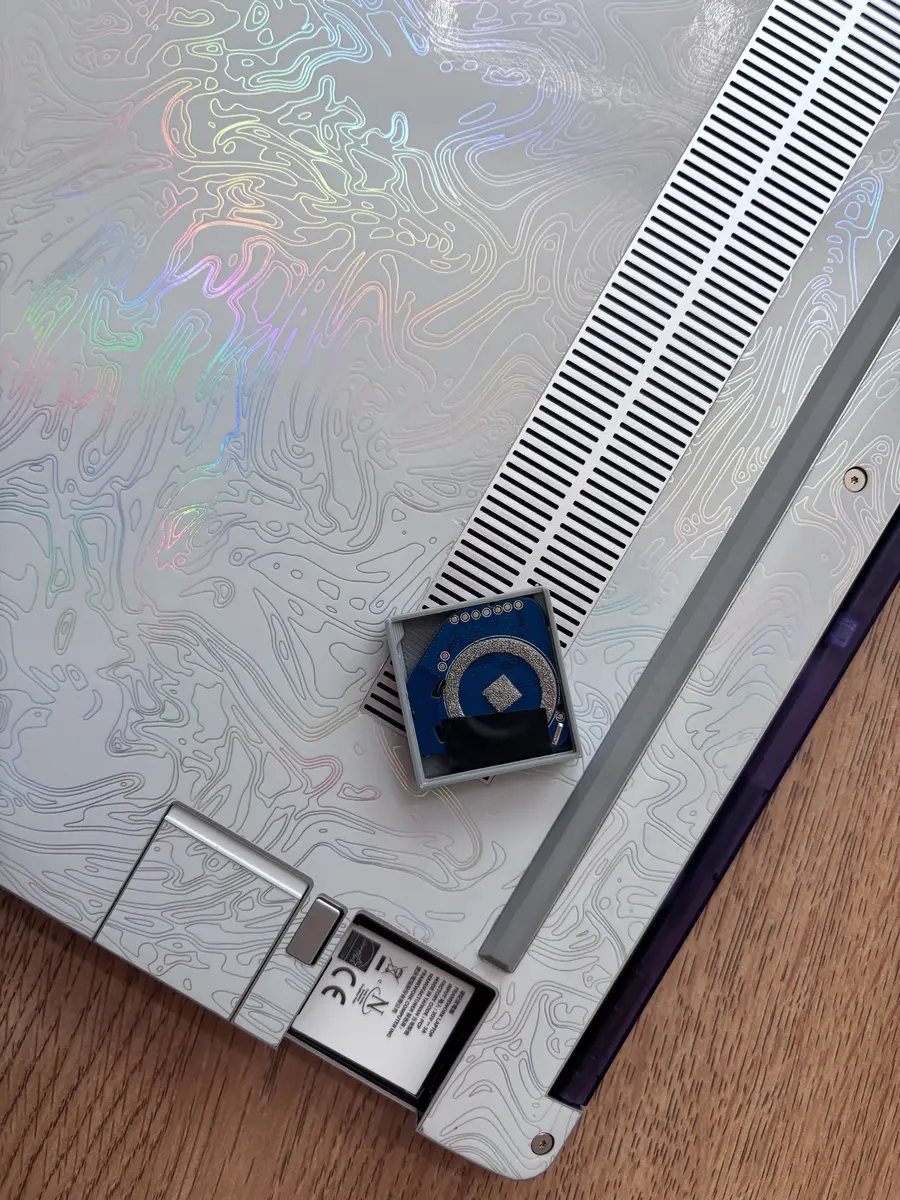
I secured the battery using a small strip of electrical tape, and it clicked into the expansion card backward.
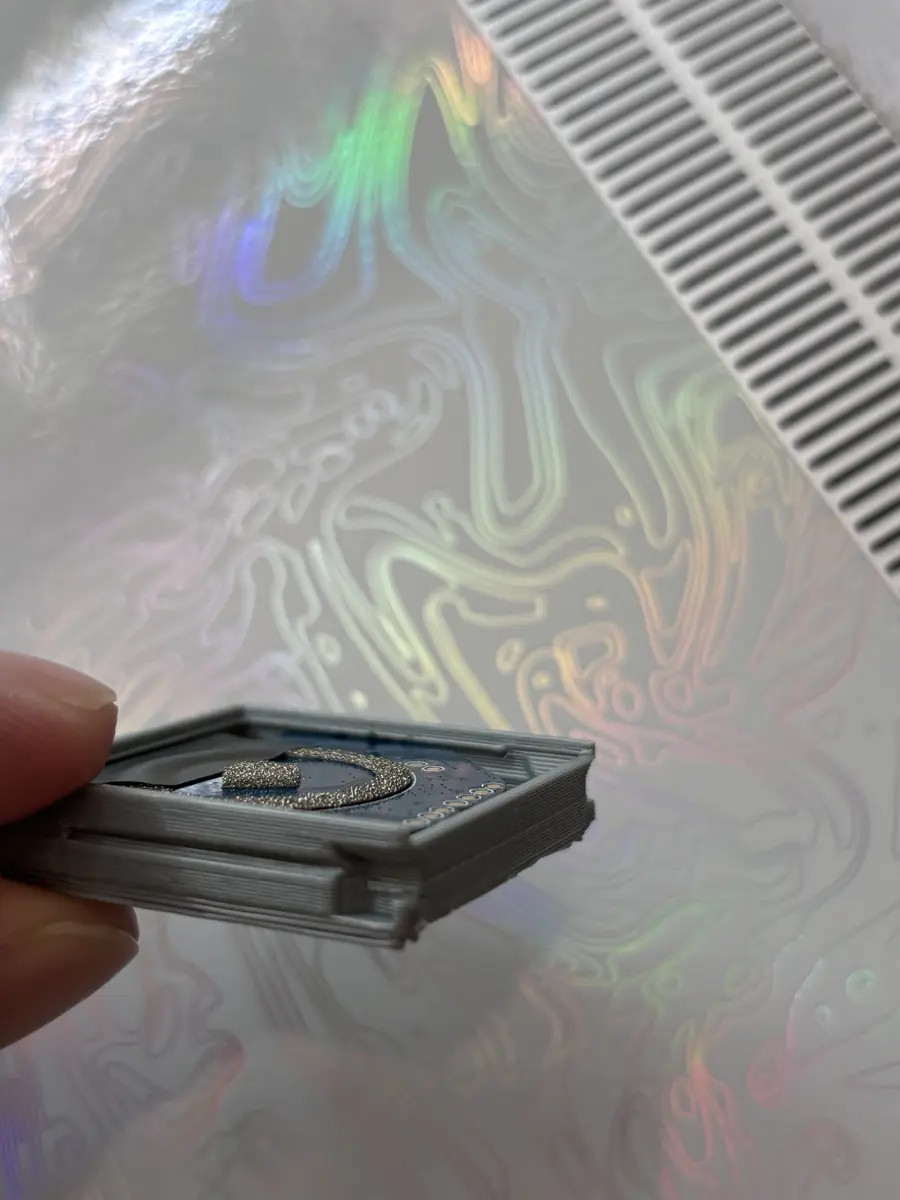
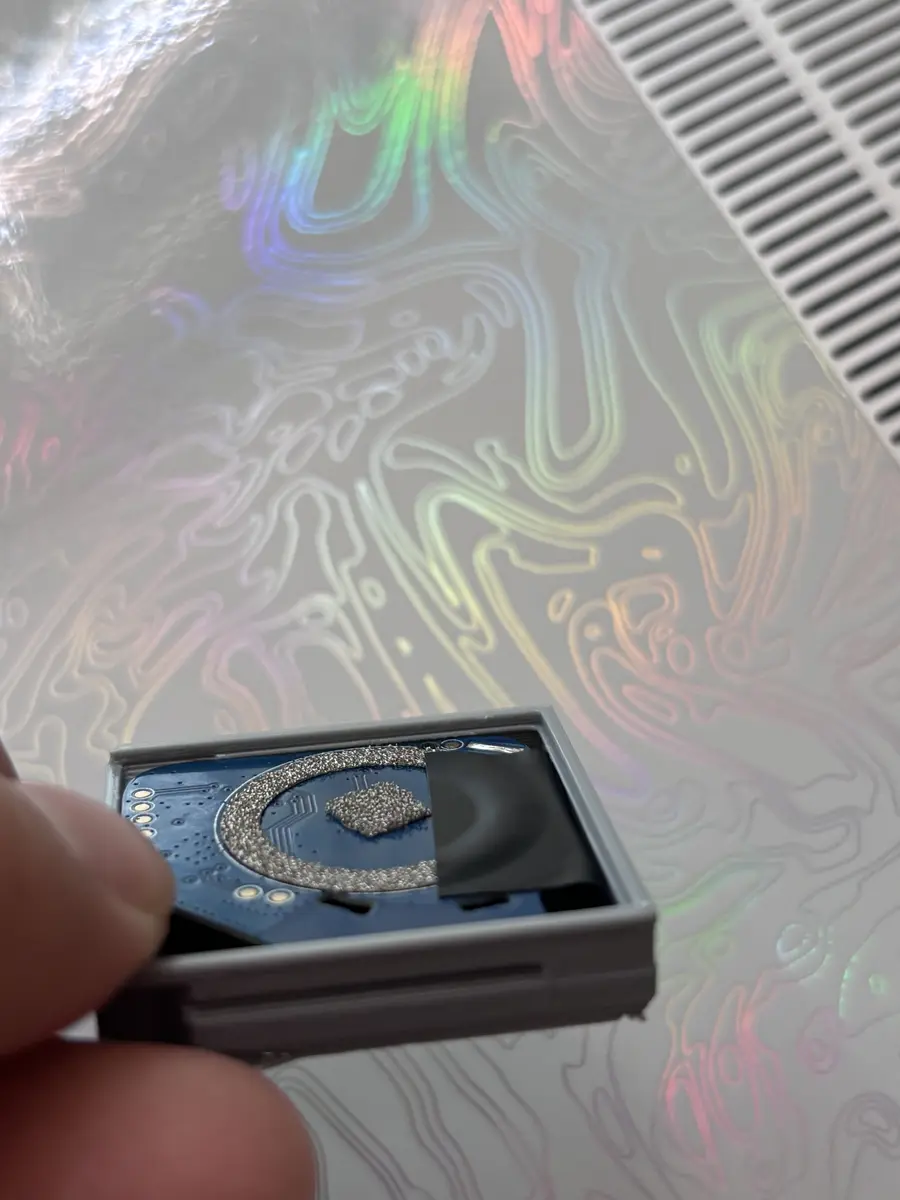
Here are a few more photos from different angles.
Now for a big asterisk: since I am by no means a 3D printing expert, I just downloaded all 8 files from the Printable link (along with other empty expansion card designs) and submitted them to my college’s 3D printing service. I suspect they used cheap filament, because most of the printed cards didn’t fit at all. Even the one I ended up using was a very tight squeeze. It only actually fits in one specific expansion bay on my laptop that seems to have slightly looser tolerances; I actually had to pry it out when I accidentally tried pushing it into a different bay.
The bottom line is, I’m not entirely sure if using a more precise model or a higher-end 3D printer would make this fit better or worse, but it’s something to keep in mind.
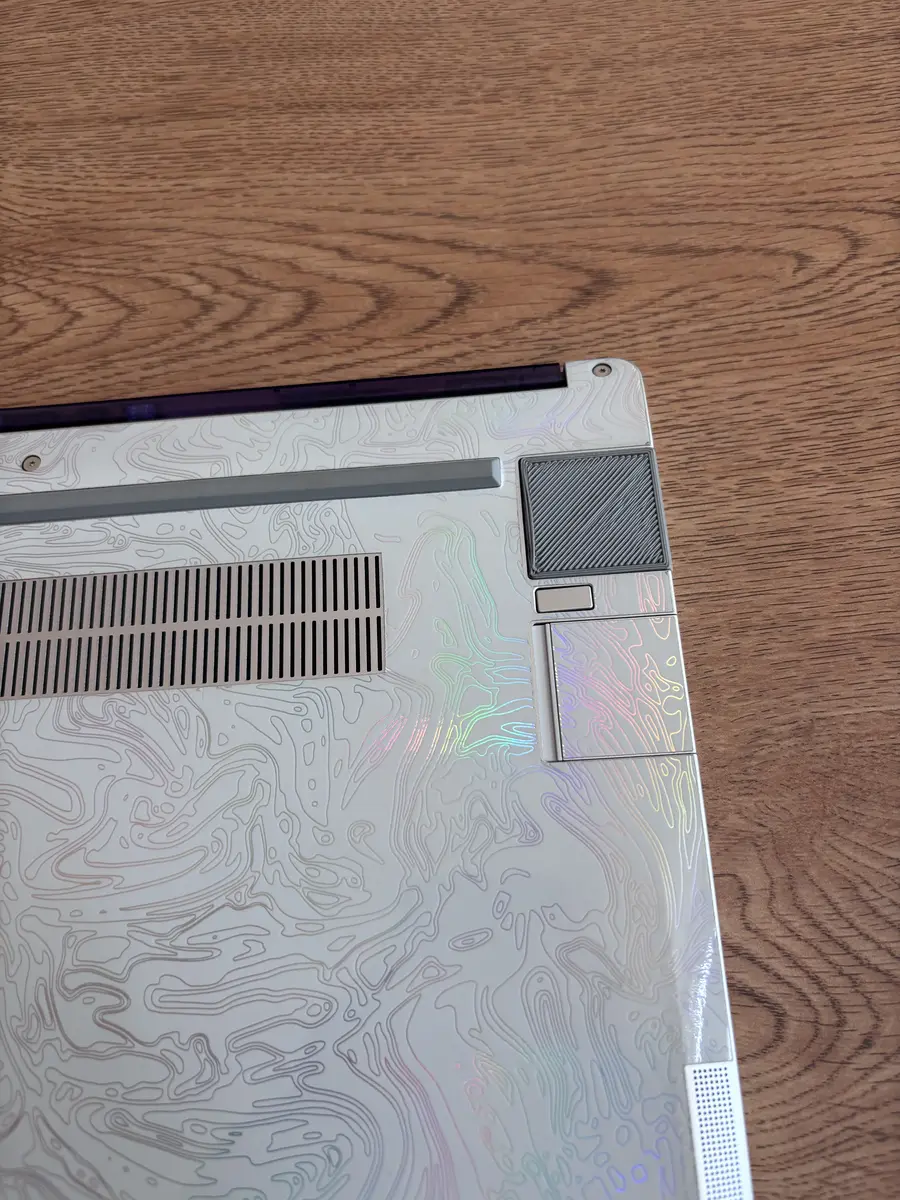
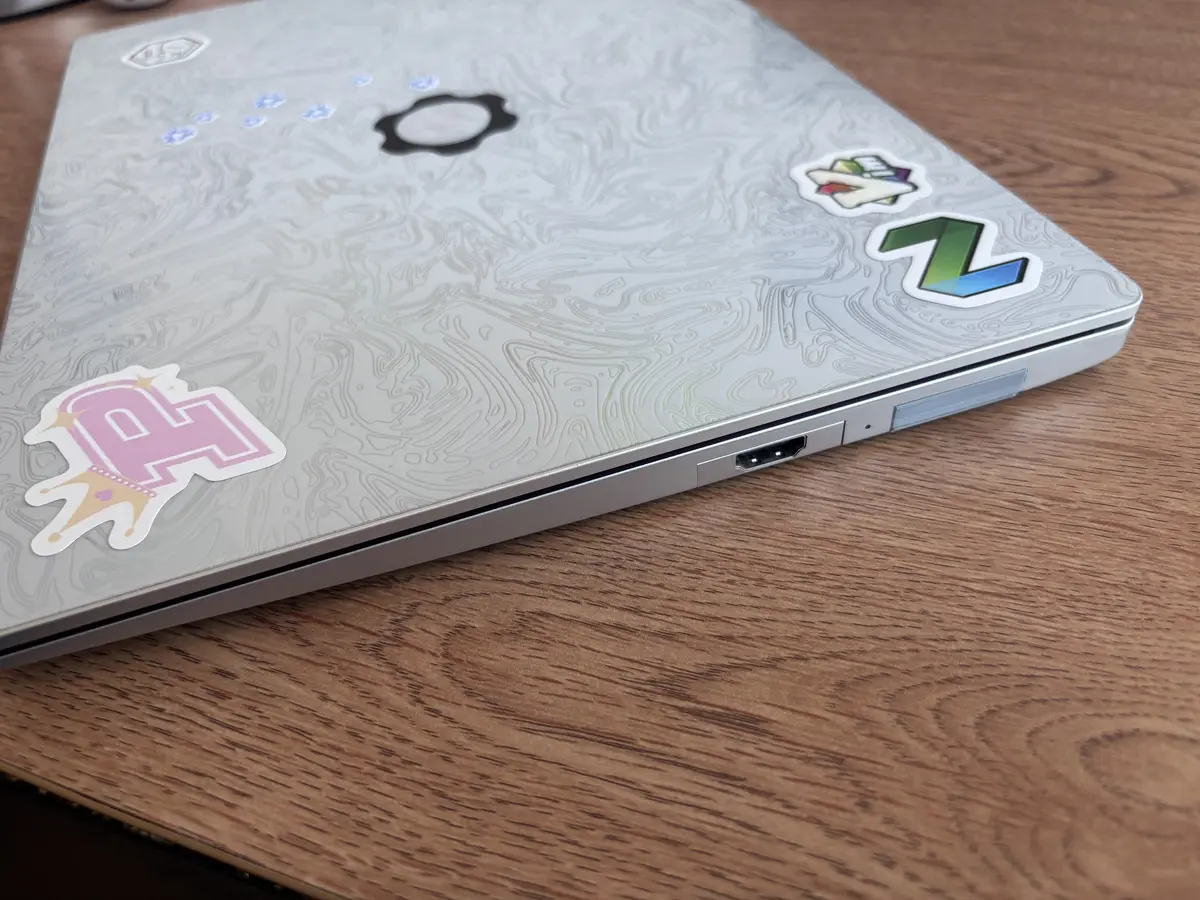
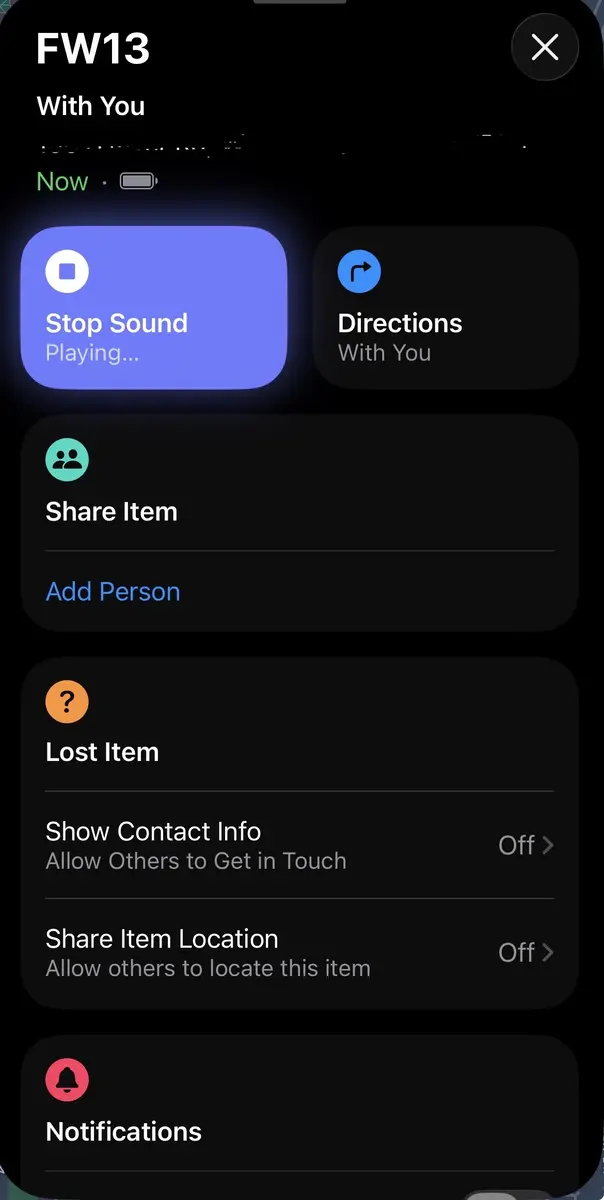
Overall, I’m happy with how it turned out, and it definitely gives me peace of mind knowing I’ll get an alert if I ever leave my laptop behind.
Some things I would love to see someone from the community tackle next:
- Finding a way to preserve the speaker during disassembly
- Creating a dedicated expansion card design that fits both the PCB and the laptop chassis better
- Testing out the USB-C rechargeable version to see if it fits nicely into an expansion card shell
Update 1
Extra observation: The “Framework Module Tray” from the same Printables link could potentially work better, as it doesn’t have notches for the lid. When I used the “Framework Module Base,” the PCB clicked into the notches, making it a little scary to remove (I guess at least it will be secure). I can’t really test the tray with my current prints since they are such low resolution, and the tray was the only expansion card that would fit my laptop. However, I will try to get a higher-quality print and report the results here.